
Choose an Inflatable Kayak Patch Kit That Fits Your Boat
Match patches and glue to PVC, urethane or rubber, pack useful repair tools, and learn when a puncture is a DIY job—or needs manufacturer help.
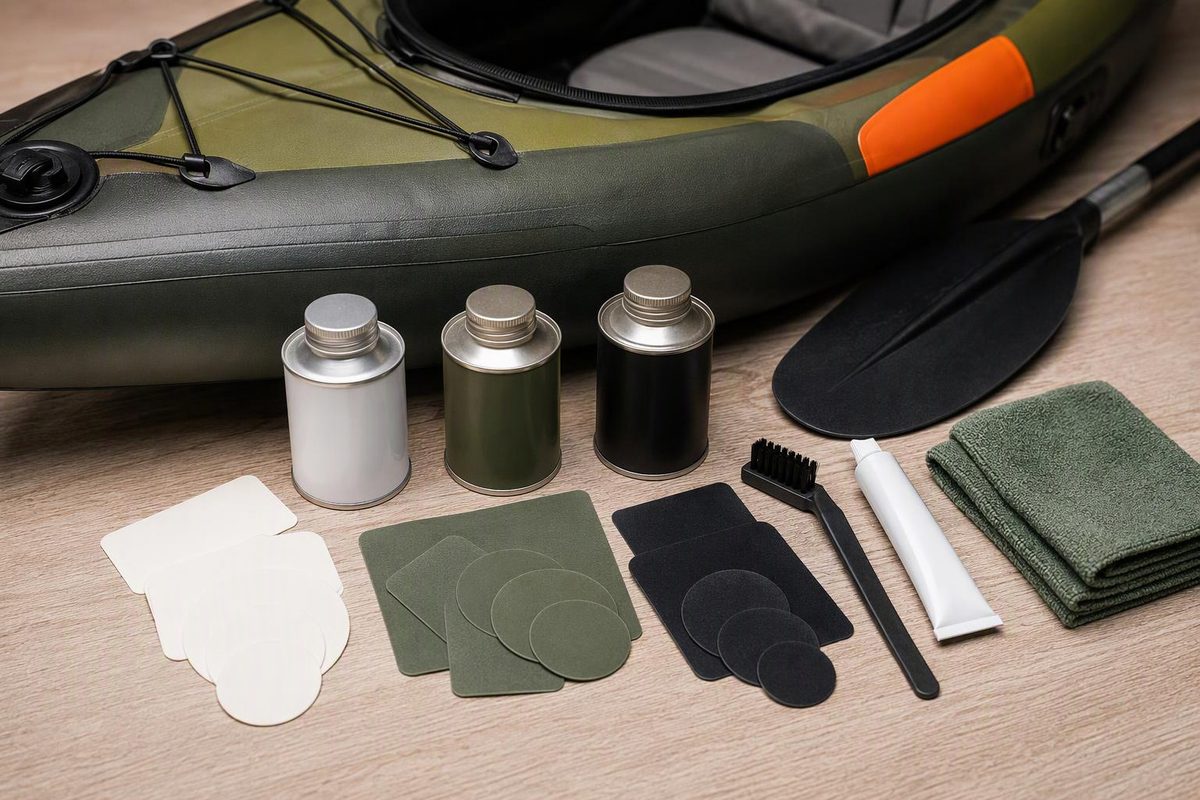
The right inflatable kayak patch kit is the one approved for your boat’s air-holding material—the coated hull or inner bladder that contains the air—not simply one labeled “waterproof.” Start with the kayak manufacturer’s kit or specified patch-and-adhesive combination. Add a compatible peel-and-stick patch for field repairs; glued repairs may need an overnight cure before the boat is usable.
NRS warns that choosing the wrong adhesive or preparation solvent can produce a poor repair. Check the exact model’s manual before buying, especially when the kayak has separate inner bladders and an outer cover. NRS adhesive guide
Choose by material, not patch color
| Air-holding material or construction | What to buy | Important distinction |
|---|---|---|
| PVC/vinyl | Manufacturer-approved PVC patch material and glue; TEAR-AID Type B is a peel-and-stick option for compatible vinyl surfaces | Type B is specifically for vinyl and vinyl-coated surfaces. TEAR-AID |
| Urethane/TPU | A repair system approved for the exact coating or bladder | NRS offers urethane-compatible adhesives. For AIRE’s inner urethane bladders, its repair kit uses TEAR-AID Type A. NRS adhesive guide, AIRE kit details |
| Synthetic rubber, including Hypalon/Pennel Orca | Compatible rubber patch material and a specified rubber adhesive system | NRS recommends Clifton Hypalon adhesive plus accelerator for air-holding repairs on these materials. Don’t substitute PVC glue without explicit approval. NRS adhesive guide |
| Separate bladder beneath an outer shell | Supplies for both layers, if both are damaged | An outer-shell repair is not necessarily an airtight repair. AIRE’s kit distinguishes bladder patching from stitching tears in the outer PVC skin. AIRE kit details |
For a concrete manufacturer example, Sea Eagle’s Repair Kit, item REPAIRKIT, contains repair swatches, a 1-ounce glue tube and a Halkey-Roberts valve tool. It is listed for 1000-denier PVC boats and named kayak families, rather than every inflatable. Check that compatibility list against your model. Sea Eagle kit
Still comparing boat construction? Our inflatable kayak buying guide covers the broader selection decision.
What to pack with the patches
Use this as a packing checklist, not a requirement to buy a large expedition kit:
- Approved patch material and adhesive, plus compatible quick-repair patches.
- Scissors and a marker to size patches and mark leaks.
- The cleaner specified by the repair system, with clean cloths.
- A small roller or suitable smoothing tool.
- The correct valve wrench, if your valve is serviceable.
- Your pump, pressure gauge where required, and offline repair instructions.
Keep everything protected from water. Before a trip, check that the glue is usable and that the kit has enough material for the patch overlap required by its instructions.
Find the leak before applying a patch
If a chamber loses air on the water, prioritize reaching a safe landing rather than attempting a repair afloat. Keep your life jacket on.
On land, use soapy water to locate the leak and mark it. Check the valve as well as the hull: NRS identifies loose valve fittings, grit on sealing surfaces and damaged seals as possible leak causes. A patch over the fabric will not solve a leak through the valve. Follow your valve’s service instructions rather than dismantling it by guesswork. Hull leak detection, valve troubleshooting
For a large tear, opening seam, damaged valve attachment or unexplained bulge, stop using the kayak and ask the manufacturer for a repair assessment. Treat these as different jobs from a small puncture in otherwise sound material.
Apply the repair system’s own method
For a compatible TEAR-AID dry repair, the manufacturer’s sequence is:
- Clean with an alcohol prep pad or a 50/50 water-and-isopropyl-alcohol mixture; let it dry.
- Cut the patch to extend 1 inch beyond every edge of the damage. Round the corners.
- Peel back about half an inch of backing and anchor that edge.
- Slowly remove the remaining backing while applying the patch without stretching it or trapping bubbles.
- Rub the entire patch firmly, including its edges. Repeat on the back side if accessible.
Type B takes 24 hours to reach full adhesion, even though the manufacturer says its initial adhesion is generally sufficient for immediate use. Don’t pick at it during those first 24 hours. The immediate-use statement is not a guarantee for a particular kayak pressure or damaged area. TEAR-AID instructions
For glued patches, don’t borrow overlap, sanding, solvent, heating or waiting times from another kit. NRS’s demonstrated Clifton urethane repair uses two thin coats and a 24-hour full cure; Sea Eagle’s repair-kit-glue instructions specify a different application sequence and an overnight cure. Sea Eagle also specifies deflating the boat for puncture repairs. Follow the instructions for the actual boat and adhesive combination. Solvents and adhesives can be toxic and flammable: use the specified protective equipment, ventilation and ignition precautions. NRS repair method, Sea Eagle repair instructions
Whether a peel-and-stick repair is temporary depends on the system. Sea Eagle describes its KwikPatch as best used temporarily until a more permanent patch can be applied; NRS says TEAR-AID Type A can be a permanent repair on an AIRE inner urethane bladder unless the tear is large. Sea Eagle instant patch, AIRE kit details
After the required cure, inflate according to the kayak manual, recheck for leaks and inspect the patch edges. Make the first outing a short, sheltered test close to an easy landing—not a committing crossing.